Set up your salon (onboarding)
The first time you sign in, Salon Booking walks you through a short setup wizard. It takes you from an empty account to a salon that's ready to take bookings. You stay in the wizard until you press Launch, so nothing goes live before you're ready.
You don't have to finish everything in one sitting — the wizard remembers where you left off, and several steps can be skipped and done later from Settings.
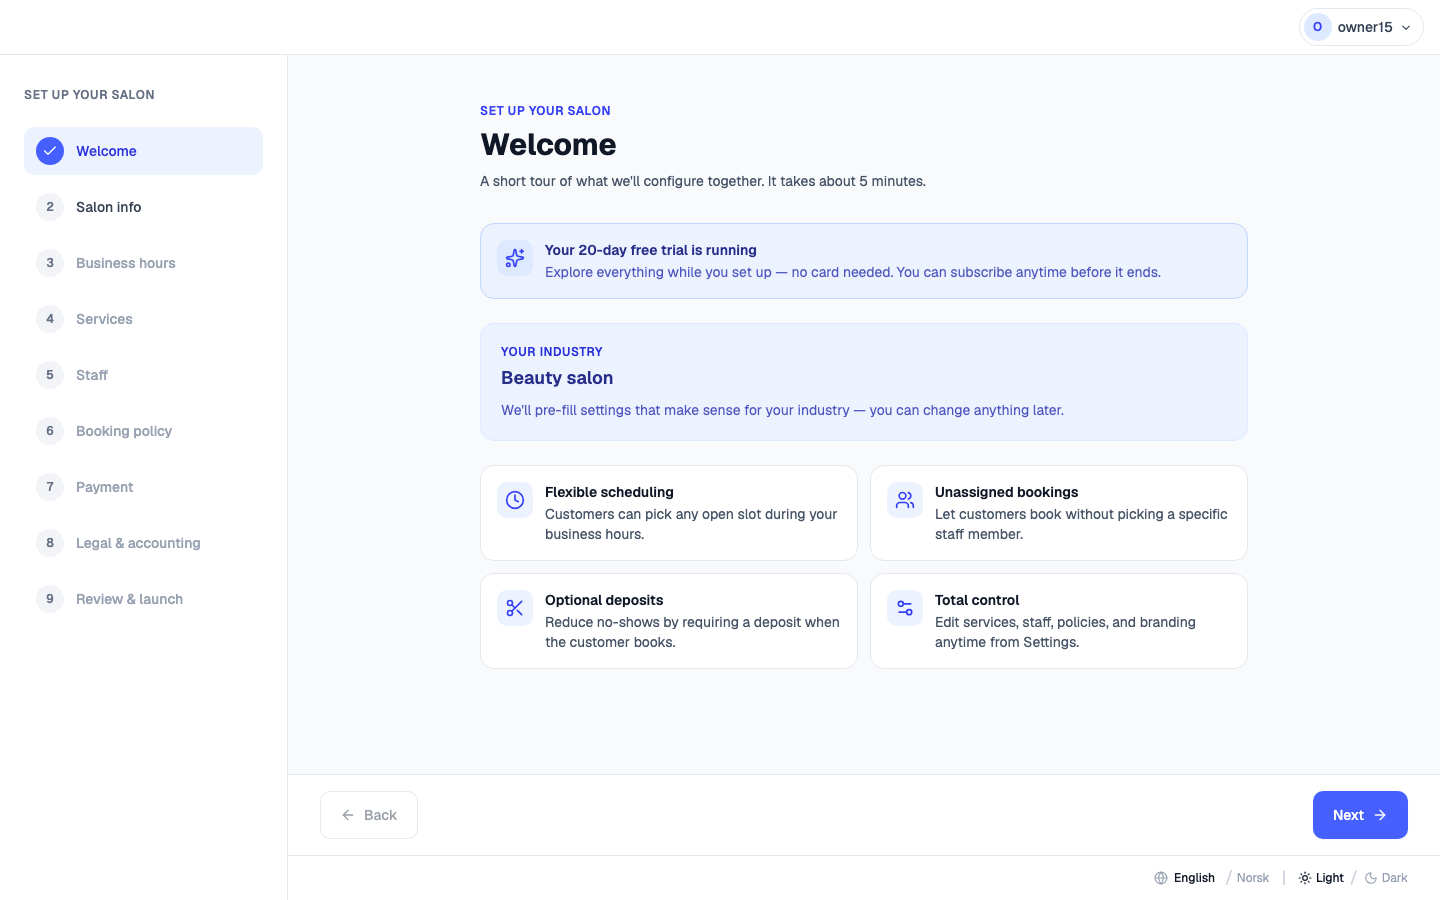
The steps
The wizard has nine steps. Two are required; the rest are optional and can wait.
| Step | Required? | What you do |
|---|---|---|
| 1. Welcome | — | A quick intro, and how many free-trial days you have left. |
| 2. Salon info | ✅ | Your salon name, address, time zone and currency. |
| 3. Business hours | ✅ | Your opening hours for each day of the week. |
| 4. Services | Optional | The treatments you offer, with prices and durations. |
| 5. Team | Optional | The people who take appointments. |
| 6. Booking policy | Optional | How bookings behave — auto-confirm, cancellation notice, deposits. |
| 7. Payment | Optional | Connect a payment provider to take deposits and online payments. |
| 8. Legal & tax | Optional | Your legal business details, needed for official invoices. |
| 9. Review | — | A summary. Press Launch to open your salon. |
The two required steps
Only two things are needed before you can launch, because they're what the calendar depends on:
- Salon info — a name, a street and city, plus your time zone and currency.
- Business hours — opening hours filled in for the week, with at least one open day.
Everything else can be added later, so you can get running quickly and fine-tune afterwards.
Adding your services
In the Services step you build your menu — the treatments customers can book, each with a price and how long it takes. You can start from a ready-made list for your industry and adjust it, or add your own.
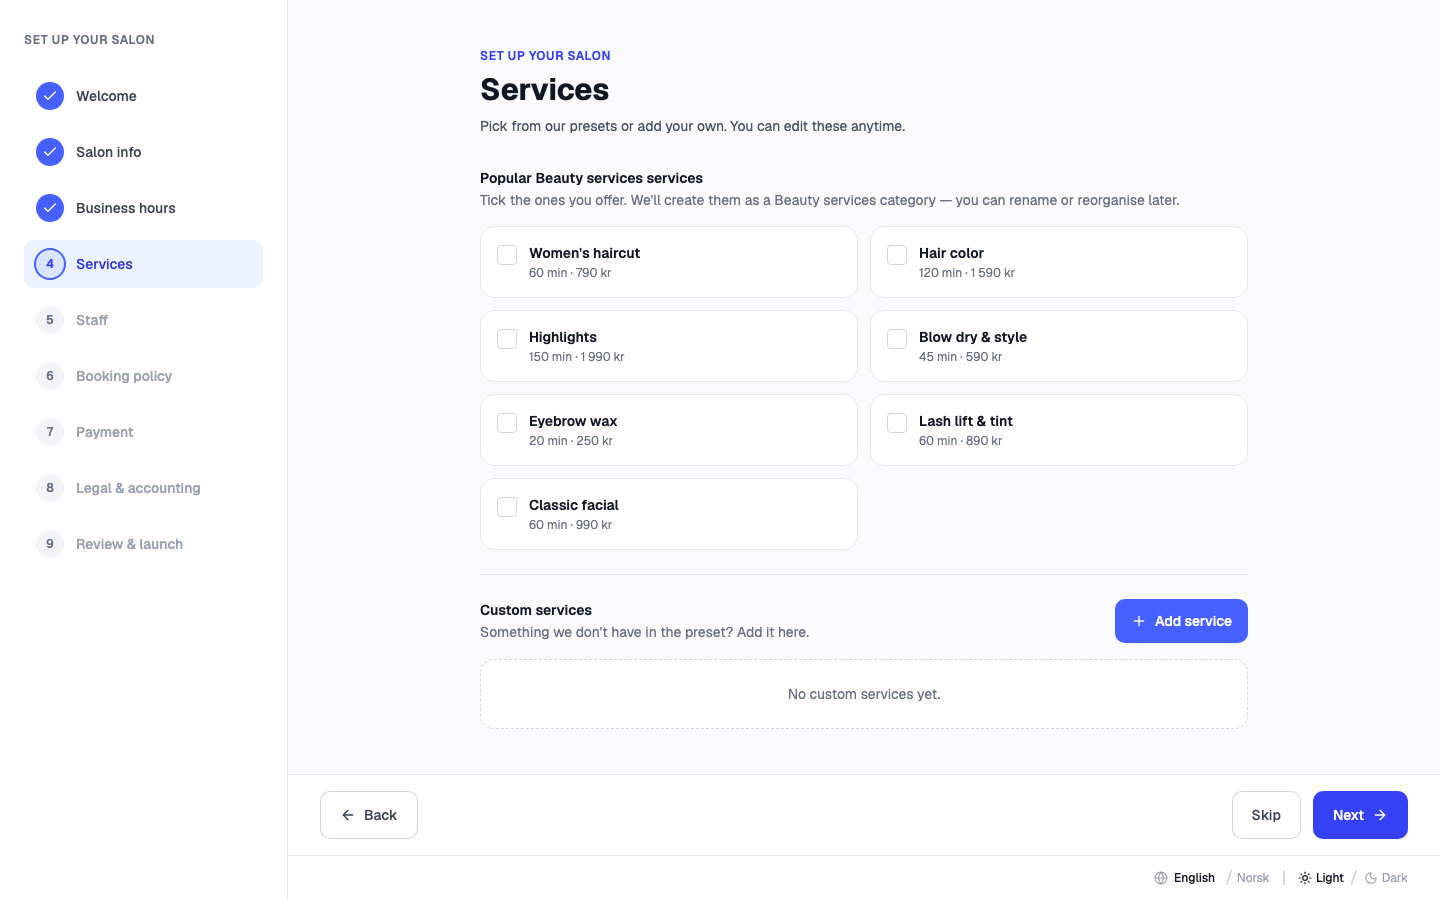
Prefer to set this up later? You can skip it here and manage everything from the Services page once you're inside.
Adding your team
In the Team step you add the people who take appointments. At least one is recommended so the calendar has someone to book. You can also do this later from Team & staff.
Optional: booking rules, payments and legal details
The last few steps let you shape how bookings work (deposits, cancellation notice, whether bookings auto-confirm), connect a payment provider, and enter your legal and tax details for official invoices. All of these are optional at this stage — a salon can go live taking cash only and add them later from Settings.
Review & launch
The final step shows a summary of what you've set up and how many trial days remain.
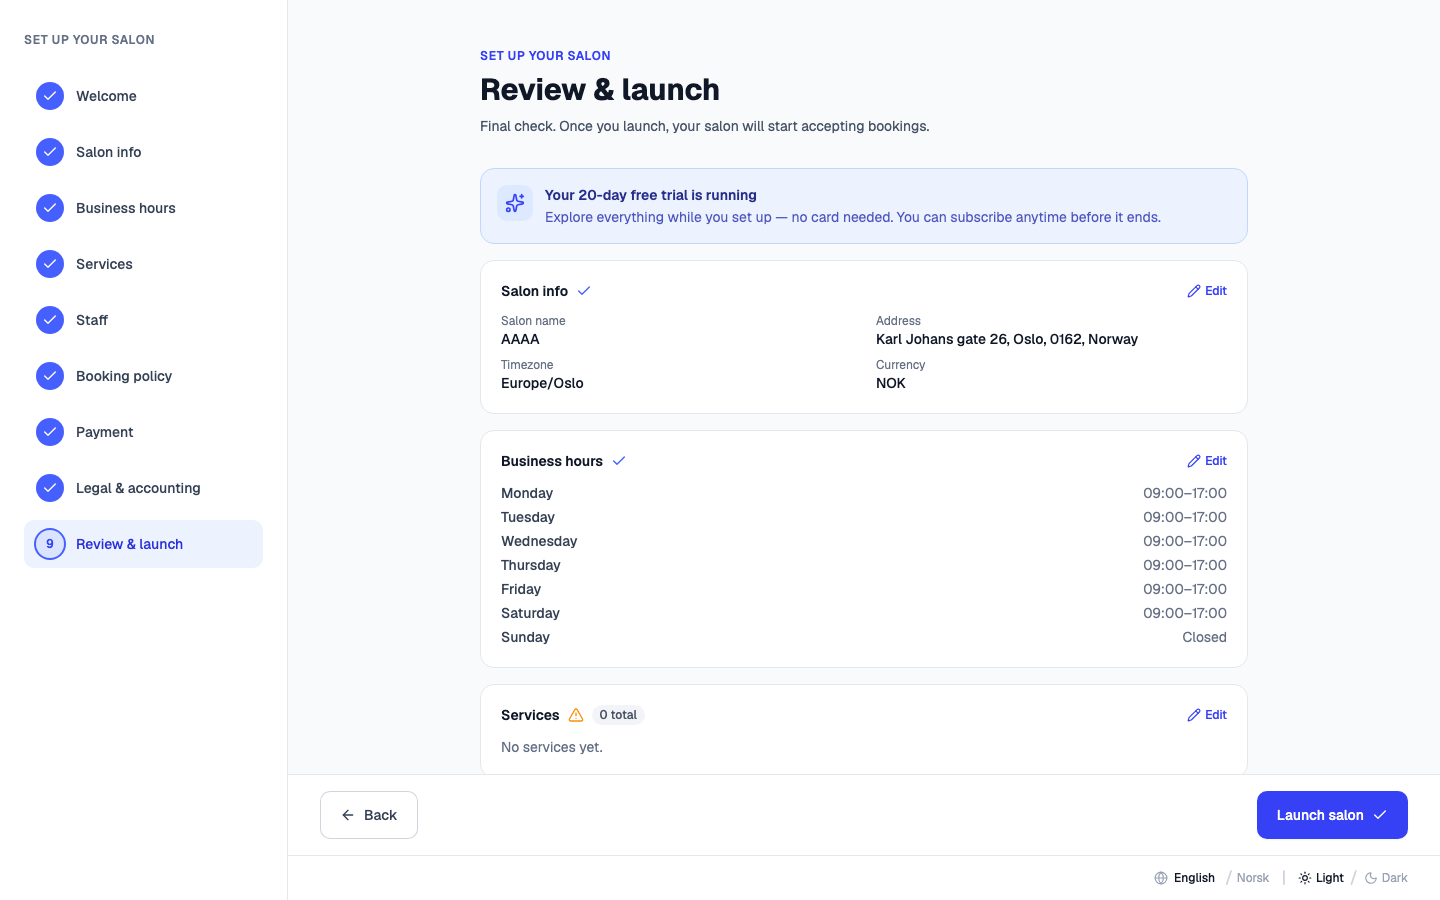
When you press Launch, your salon opens and you're taken to your dashboard. If a required step is still incomplete, the wizard tells you which one to finish first.
What was set up for you
To save you time, a few things were prepared automatically when you signed up:
- A free trial, so you can explore before subscribing.
- The right tax rates and accounting accounts for your country, so revenue and VAT are recorded correctly from day one.
Next: Go-live checklist →